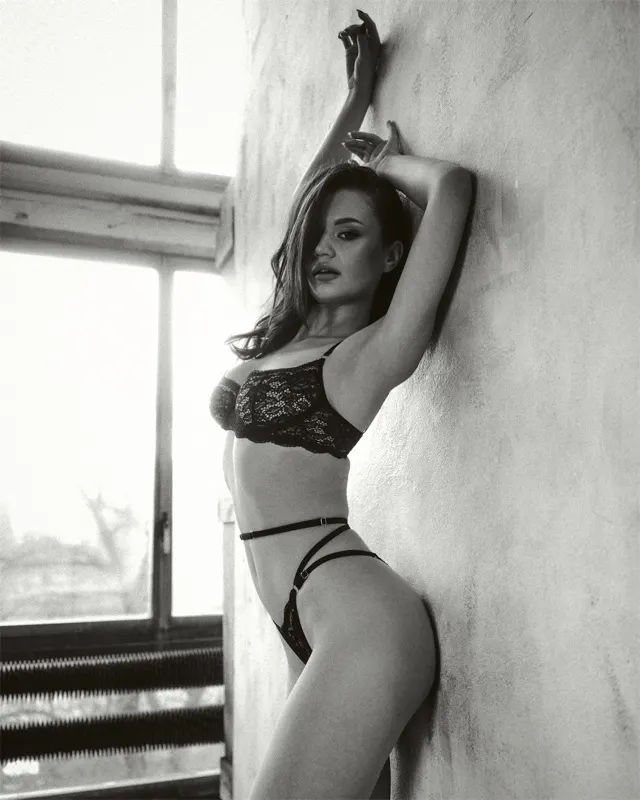
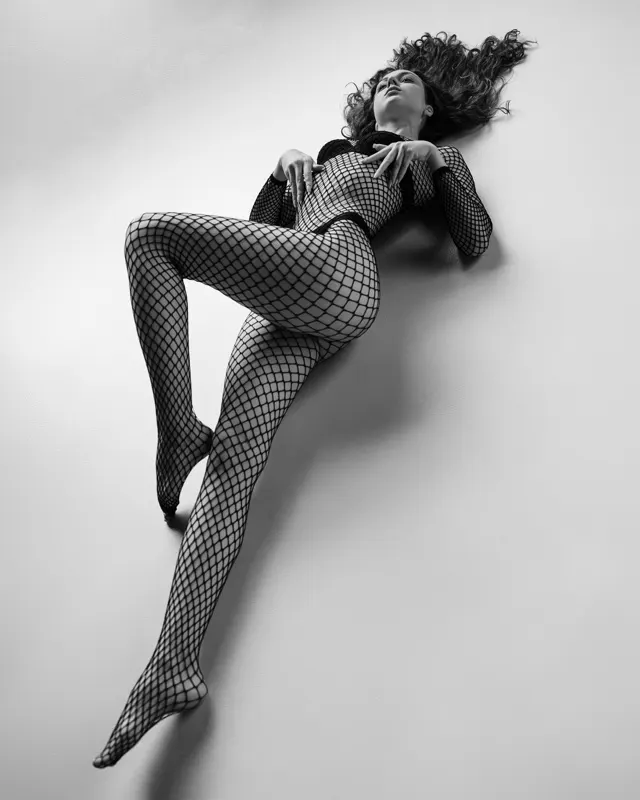
Półprofil z ciężarem na jednej nodze
Najprostsza poza startowa: bark lekko odwrócony, biodra asymetryczne i rozluźnione dłonie.
Nie musisz być modelką, żeby wyglądać świetnie na zdjęciach. Oto praktyczny poradnik pozowania do portretu, zdjęć biznesowych i sesji kobiecej — od szukania inspiracji po ćwiczenia przed lustrem.
Rozluźnij barki, ustaw ciało lekko bokiem do aparatu, przenieś ciężar na jedną nogę i daj dłoniom konkretne zadanie. Nie próbuj wyglądać „perfekcyjnie” — lepiej wygląda mała asymetria i ruch niż sztywne stanie prosto.
Najprostsza poza startowa: bark lekko odwrócony, biodra asymetryczne i rozluźnione dłonie.
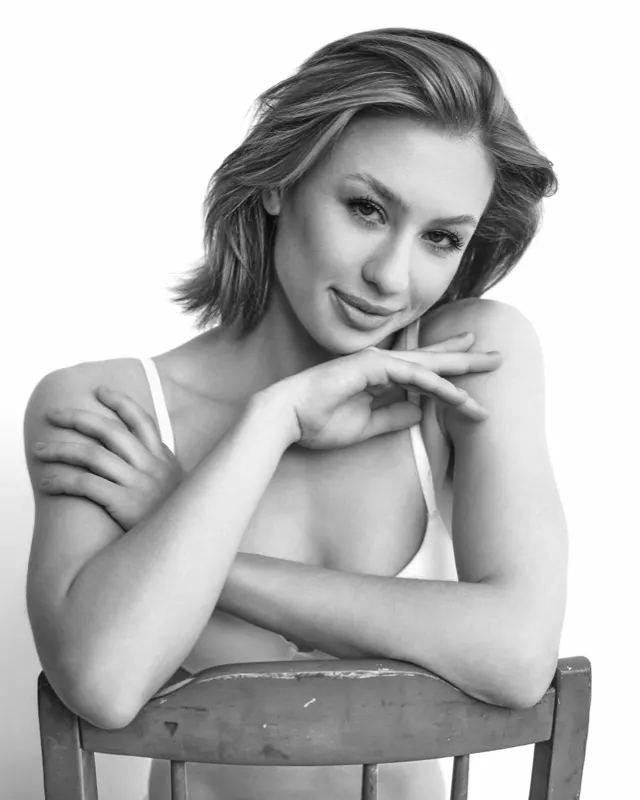
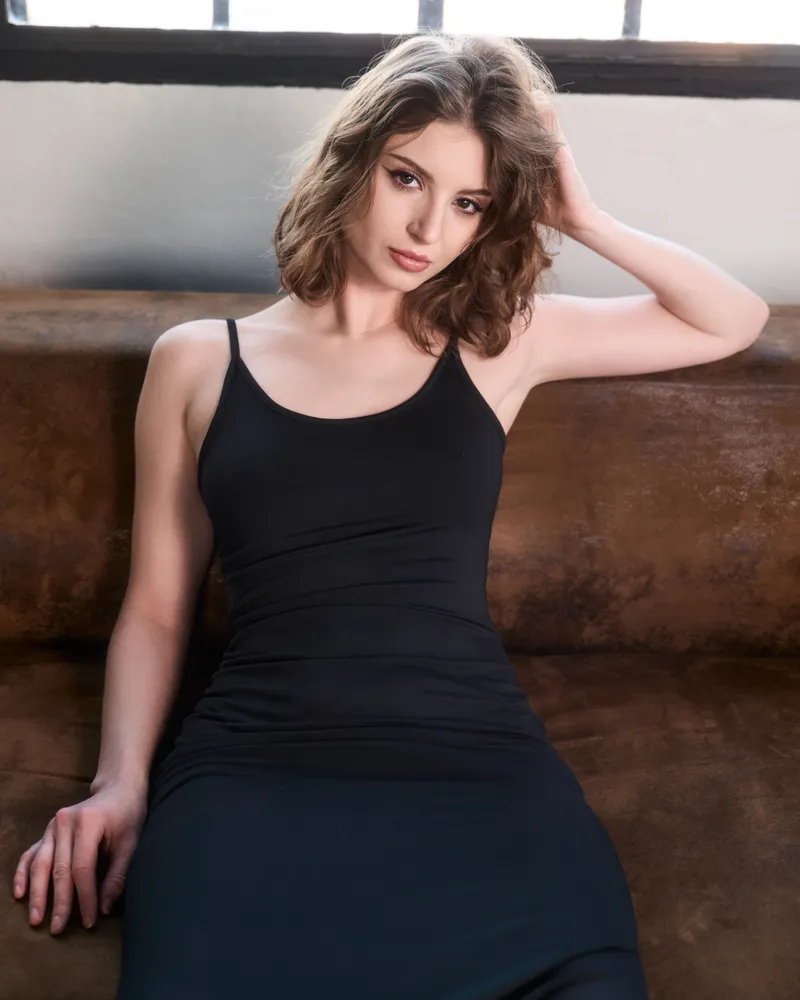
Mała zmiana, która od razu poprawia linię żuchwy i sprawia, że twarz wygląda czytelniej w portrecie.
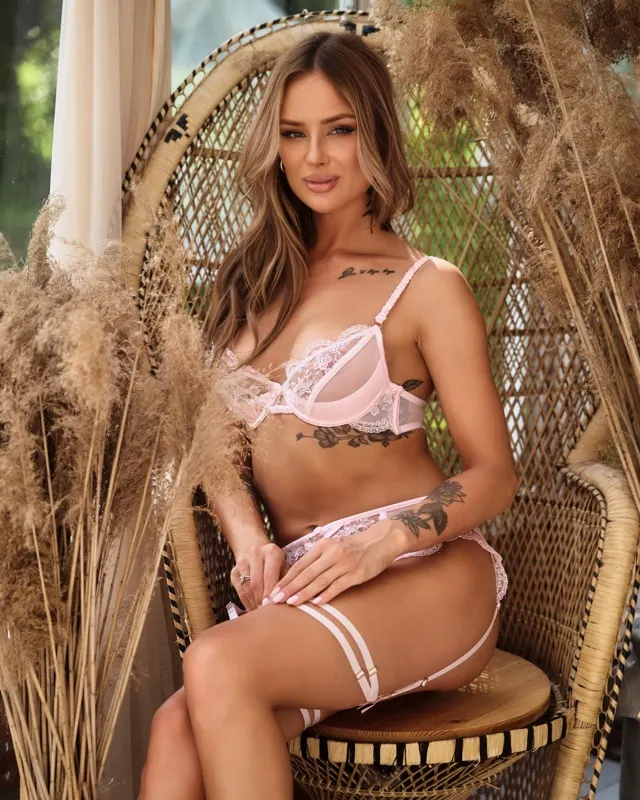
Ręce powinny mieć zadanie. Delikatny ruch przy włosach, mankiecie albo kołnierzu wygląda naturalniej niż ręce wzdłuż ciała.
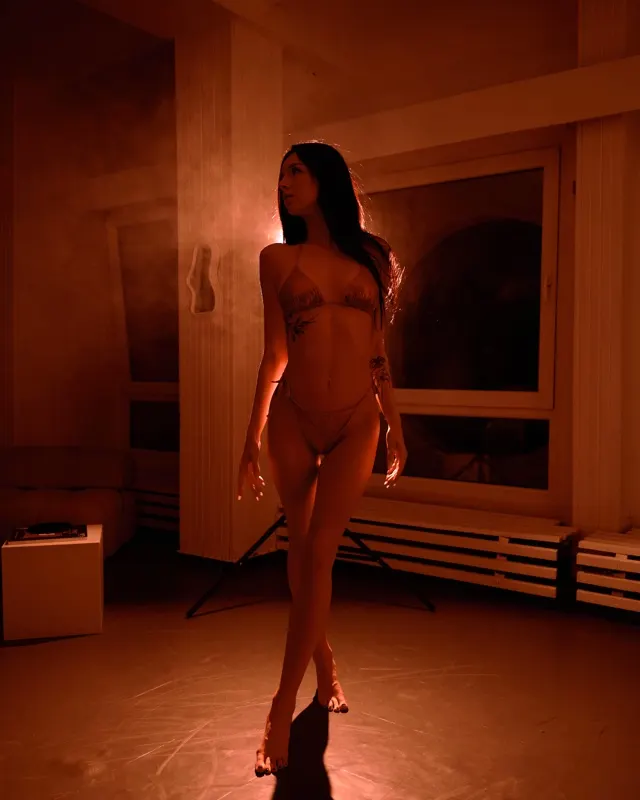
Jeśli stoisz zbyt sztywno, zrób mały krok, obróć bark albo przenieś ciężar. Mikro-ruch od razu ożywia kadr.
To dwa najbezpieczniejsze warianty na start. Patrz w obiektyw, jeśli chcesz bardziej bezpośredni efekt, albo lekko obok dla miększego portretu.
Zanim zaczniesz ćwiczyć, zbierz inspiracje. Pinterest to najlepsze narzędzie — wpisz „pozowanie do zdjęć kobiecych", „boudoir poses" lub „portrait poses women" i stwórz tablicę z pozami, które Ci się podobają. Na Instagramie śledź profile fotografów portretowych i zwracaj uwagę na ułożenie ciała, rąk i kierunek spojrzenia. Nie musisz odwzorowywać każdej pozy perfekcyjnie — chodzi o zrozumienie ogólnego ruchu i nastroju.
To kluczowy krok, który robi ogromną różnicę. Stań przed lustrem w domu — najlepiej w pełnym rozmiarze — i spróbuj odwzorować pozy z tablicy inspiracji. Nie chodzi o perfekcję, ale o to, żeby Twoje ciało zapamiętało ruch. Kilka rzeczy, na które warto zwrócić uwagę:
Największy błąd? Sztywna, symetryczna sylwetka — prosta postawa, ręce wzdłuż ciała, twarz prosto do obiektywu. To wygląda jak zdjęcie do dowodu. Zamiast tego: stań lekko profilem, odchyl biodra, zgięte ramię tworzy trójkąt, który wysmukla sylwetkę. Ręce powinny mieć „zadanie" — trzymać coś, dotykać włosów, opierać się o ścianę. Luźne ręce wzdłuż ciała wyglądają sztywno.
W profesjonalnym portrecie ekspresja to nie tylko uśmiech — to mikrokomunikaty, które budują Twój autorytet. Kluczowym elementem jest kontrola napięcia mięśniowego. Zastosuj technikę „squinching" (delikatne napięcie dolnych powiek), która nadaje spojrzeniu pewności siebie, unikając efektu szeroko otwartych oczu komunikujących niepewność. Pamiętaj o asymetrii — lekki przechył głowy sprawia, że wyglądasz bardziej przystępnie i naturalnie.
Dla lekarzy i specjalistów kluczowe jest połączenie kompetencji z empatią. Pozycja z lekko pochylonym tułowiem w stronę obiektywu skraca dystans i buduje relację z pacjentem. Ręce powinny być widoczne, ale rozluźnione — unikanie chowania ich za plecami zwiększa transparentność i zaufanie. W portrecie biznesowym (B2B) lekki wysunięcie głowy do przodu pozwala wyostrzyć linię żuchwy, co podświadomie jest odbierane jako cecha lidera.
Portret to fundament każdej sesji — zarówno kobiecej, jak i wizerunkowej. Nawet jeśli planujesz sesję całopostaciową, większość najlepszych kadrów to właśnie portrety. Oto kluczowe zasady pozowania do portretu:
Zaczynamy od luźnych, portretowych póz, które pozwalają nam się poznać i rozgrzać przed obiektywem. To najbardziej komfortowy początek, bez presji. Dopiero potem przechodzimy do bardziej dynamicznych ujęć. Na sesji to ja prowadzę — mówię dokładnie jak stanąć i co robić z rękami. Twoje ćwiczenia przed lustrem nie idą na marne — dzięki nim szybciej wejdziesz w rytm pracy.
Muzyka odpowiednio dobrana zmienia dynamikę pozowania. Spokojne utwory pomagają się rozluźnić i dają płynne ruchy, podczas gdy energiczny beat dodaje pewności siebie. Tempo muzyki podświadomie wpływa na tempo pracy — wolniejsze utwory sprzyjają eleganckim, wyważonym pozom. Mam sprawdzone playlisty, ale chętnie puścimy Twoje ulubione utwory.
Najważniejsze to rozluźnić ramiona, lekko wysunąć brodę do przodu i ustawić twarz pod kątem 30–45° do obiektywu. Unikaj sztywnej symetrii — asymetria wygląda bardziej naturalnie. Na sesji prowadzę Cię krok po kroku, więc nie musisz znać żadnych pozycji na pamięć.
Nie — większość moich klientek nigdy wcześniej nie pozowała profesjonalnie. Prowadzę Cię przez całą sesję: ustawiam ciało, dłonie, kąt głowy. Możesz przeglądnąć ten poradnik przed sesją, ale to ja odpowiadam za to, żebyś wyglądała świetnie na zdjęciach.
Ustaw ramiona lekko pod kątem do aparatu, wyprostuj plecy, trzymaj ręce w naturalnej pozycji (np. złożone przed sobą). Uśmiech powinien być delikatny i profesjonalny — tzw. uśmiech Duchenne'a z lekkim zmarszczeniem wokół oczu. Dobre zdjęcie biznesowe buduje zaufanie w 3 sekundy.
Ćwicz przed lustrem: stań na palcach, przenieś ciężar na jedną nogę, obracaj głowę w różne strony. Zwróć uwagę na dłonie — nie zaciskaj ich. Zrób sobie kilka selfie w naturalnym świetle, żeby zobaczyć, które kąty Ci pasują. 15 minut takiego ćwiczenia robi dużą różnicę.
Na sesji prowadzę Cię przez każdą pozę. Napisz — porozmawiamy o Twojej sesji we Wrocławiu.